
Document workflow automation with hot folders in Dropbox
PDF4me has a good number of pdf features and tools that help you perform documentation jobs rescuing you from manual paperwork. Having evolved further, PDF4me reads your mind better. It can help in automating and executing your document workflows even without your instruction. “Simply create two folders in drop box - choose your pdf actions in an order- Relax and you will see the job done”. Let us dwell a little more
Dropbox is a convenient facility for many of us in data exchange and file management. We create hot-folders in Dropbox, where the files fall in for processing. Thereafter they are picked and placed in another folder after the actions by PDF4me. A small headway up in automation implies higher productivity.
In 3 steps, the job is done. Go to Dropbox Automation
Configure the source and target folders
Add actions from pdf4me
Ordering actions and create workflow
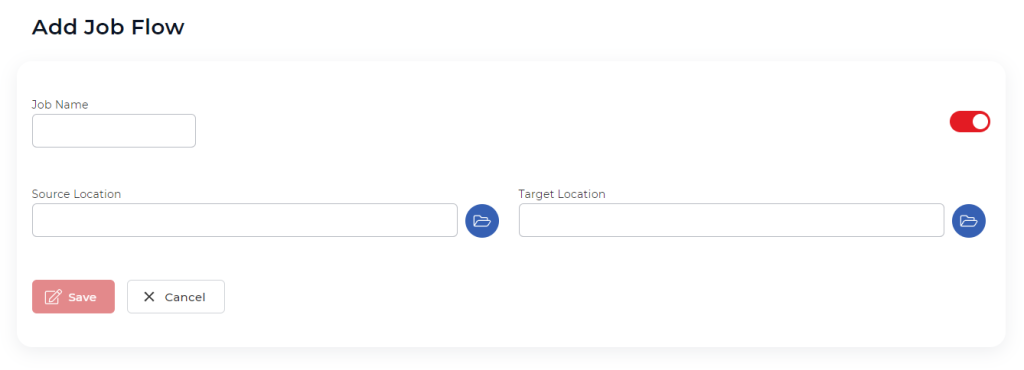
Configuring source and target folders.
The picture below shows how to select a source and target folder from their locations. The source folder is the one that is configured to contain all the input files that need processing. Likewise, the destination or target folder is the folder where all the processed files are moved in. Saving the locations while configuring is very important, as these locations will be the input for file management.
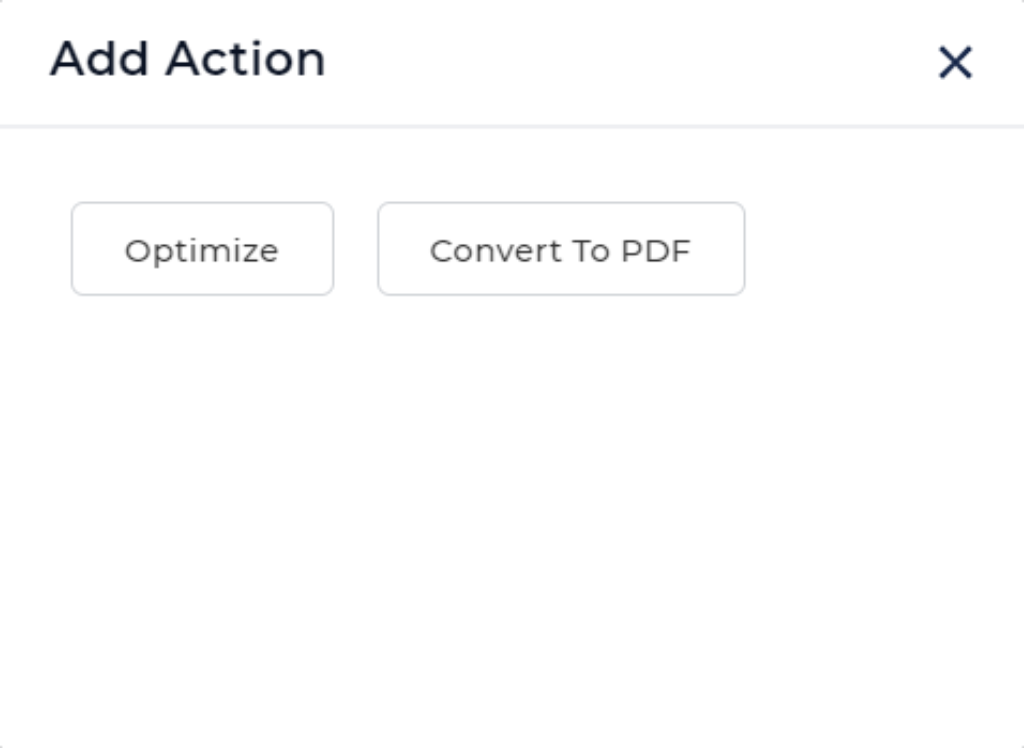
Add actions from PDF4me
There are several actions and features available with PDF4me. While creating a workflow comprising more than one action, it is necessary that we specify the order in which every action is expected to execute. For example, let us say, we choose a document to be optimized and converted to pdf, as soon as it enters the source folder. The target folder will have typically the processed file which is optimized and then converted as per the order in which action is chosen. The screenshot for your easy understanding.

Sequencing the actions for workflow
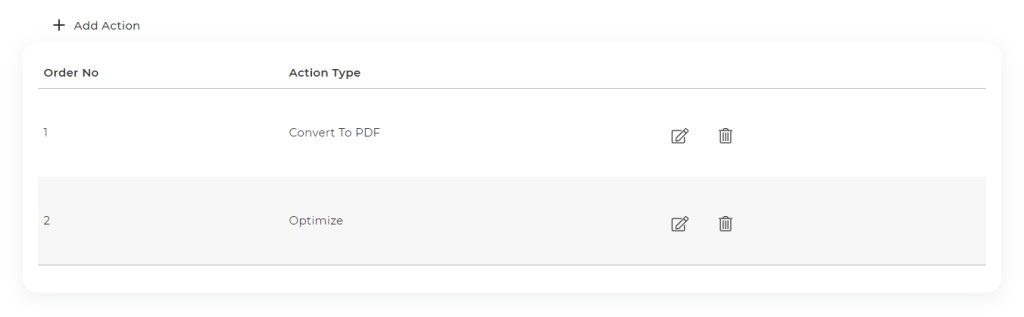
After configuring the source and target folders, the actions are selected from the available list of features. In this example, we have two actions namely, ‘Optimize ‘and ‘Convert To PDF’.
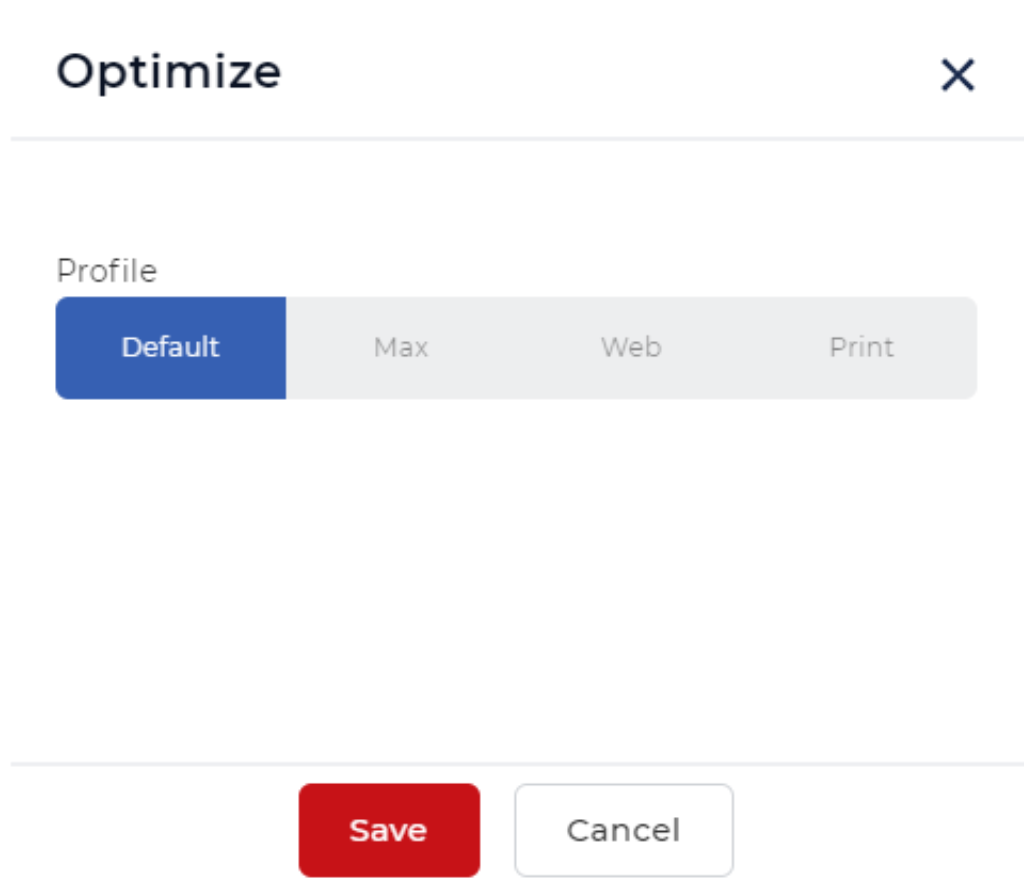
If you choose Optimize, you may further be prompted for choosing the profile. Here, the profiles are default, web, or print. Let us select the profile and save as can be seen below. This is typical of any feature that you select.
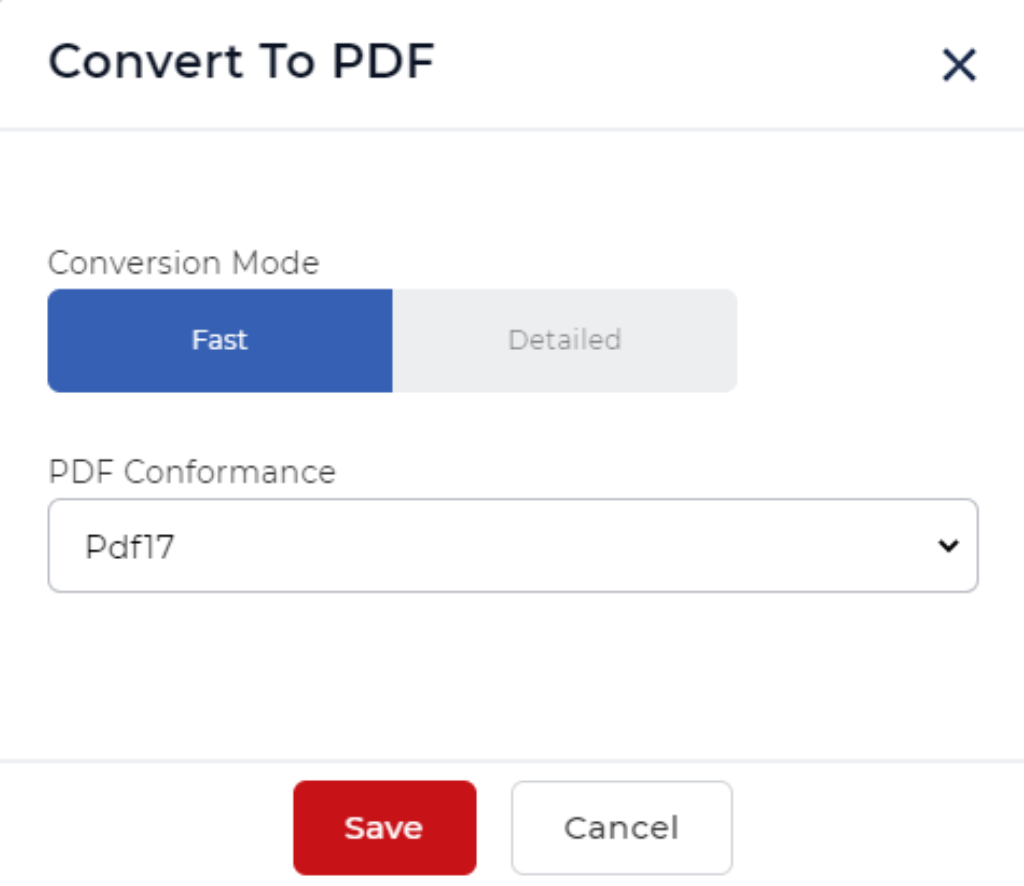
The second action you can choose is the ‘Convert to PDF’ action, followed by prompting to decide the conversion mode as fast or detailed. You may save this selection of mode and conformance. As mentioned earlier, these options are very much applicable to this feature of ‘convert to pdf’.
As you can see the first action to execute will be optimize followed by the second action convert to pdf. Therefore, order number 1 would be allocated for ‘optimize’ action. Order number 2 would be for the ’convert to pdf’ action. The order of executing the actions will now be as per the order number. Workflow is therefore created based on this sequence of the order numbers.
Processed output file in the target folder
After completing all the actions, the final output will be available in the target folder.
This way we can create our own system of workflows as and when needed, just by creating two folders in Dropbox and use pdf4me features as actions. Most of our daily documentation jobs and processes which are time-consuming can now be made to happen by themselves with a little help from PDF4me.
There is a limited number of actions supported in the Dropbox automation in the current version. PDF4me is constantly working to roll out a robust and comprehensive workflow automation system to include all the basic features for your document management needs very soon.